


Synchronizing with Google Tasks
CalenGoo can sync and display your tasks from Google Tasks. You can access them on http://calendar.google.com by clicking the task icon on the right side: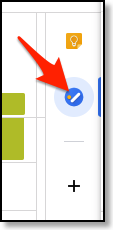
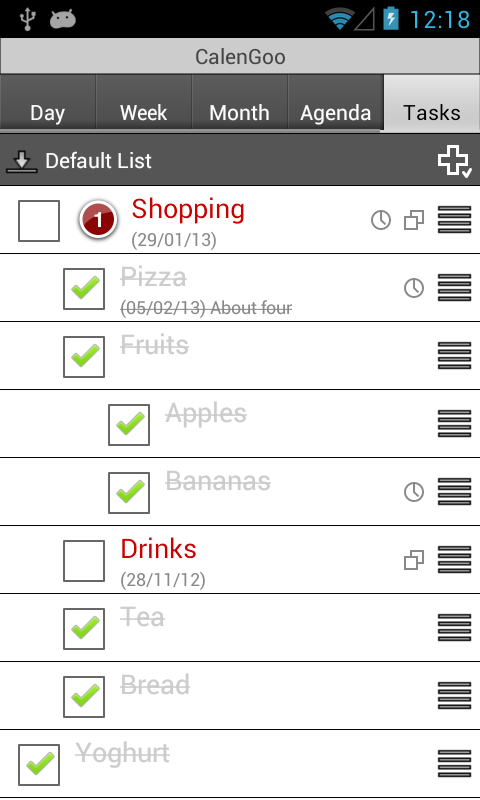
To enable this feature please tap “Settings”, “Tasks” and tap "Add Account", "Google". Afterward you should see an additional “Tasks” tab that contains your tasks:
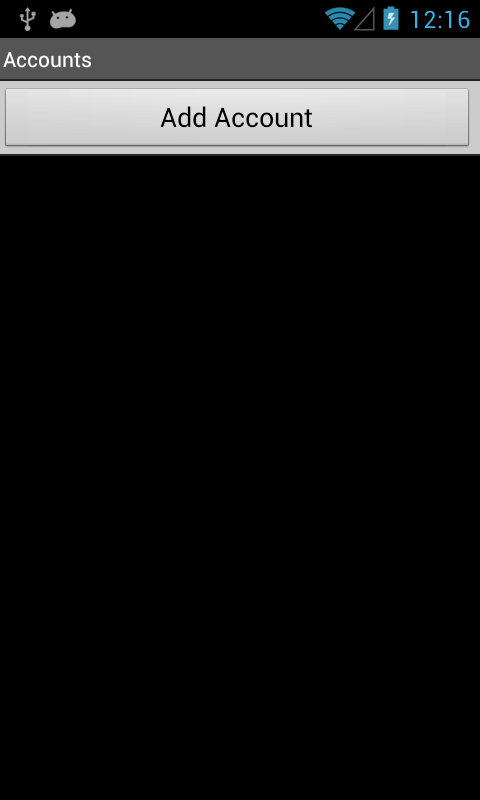

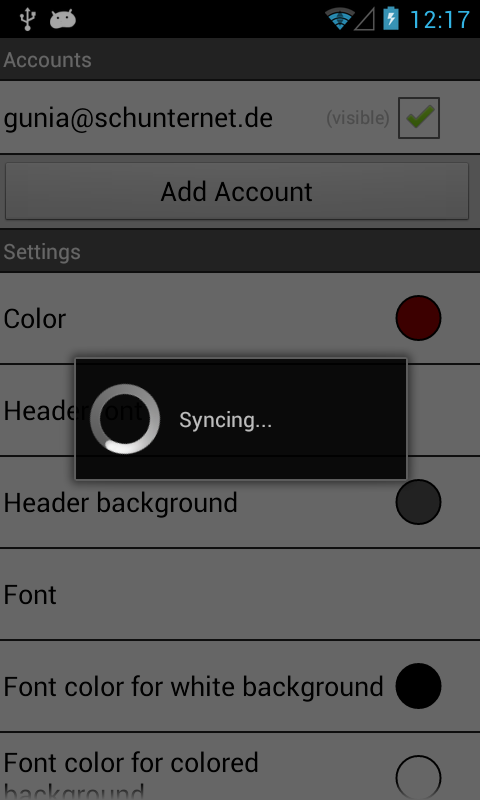
It is also possible to add a local tasks account instead of syncing via Google Tasks. Then your tasks will be saved only locally on the phone. Just choose "Local" instead of "Google".
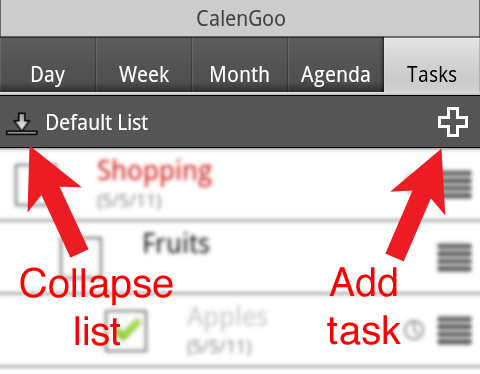
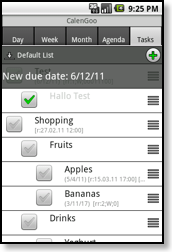
To add a new task to one of your task lists, click the “+” button, to collapse/expand a task list, click the button to the left of the task list’s name:
Additionally you can reorder tasks by dragging them with the three-line-handle on the right. You can indent them (to create sub-tasks) by pressing the tasks (in the center of the row, not by dragging the three-line-handle) for a second and then dragging them to the left or the right. Please watch this video to see how it works:
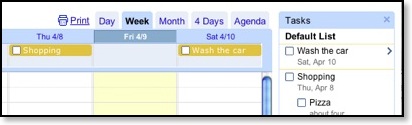
In Google Calendar you can see your tasks in a special frame on the right of your calendar. If you cannot see it, you may have to enable it by clicking “Tasks” on the left under “My calendars”.
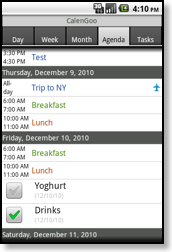
Tasks with a due date are displayed on the appropriate days:
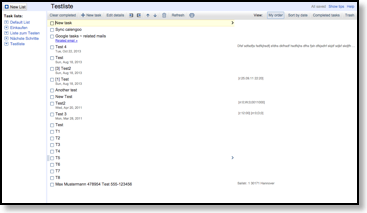
Additionally you can see them in GMail and on https://mail.google.com/tasks/canvas:
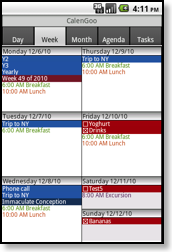
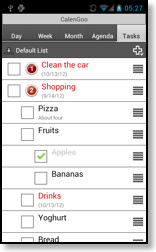
CalenGoo also displays the tasks in its different calendar views:
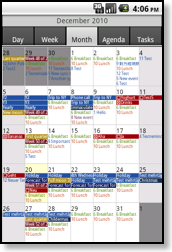
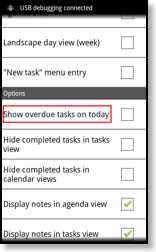
Additionally it is possible to check “Show overdue tasks on today” to see uncompleted tasks on the current day until the have been completed:
Unfortunately there is currently (March 30th 2019) a bug in Google Tasks: If you change the due date of a task on http://calendar.google.com and then change the due date in CalenGoo afterward, the website http://calendar.google.com won’t display the new due date correctly. However CalenGoo’s new date is still correctly synced between CalenGoo on multiple devices. So you can just use the desktop version of CalenGoo to view and edit your tasks instead of using http://calendar.google.com . Then you won’t have this problem. You can find further information about this problem here: Problem syncing the due date
Sorting tasks
You can choose a sort order for the task list in the menu: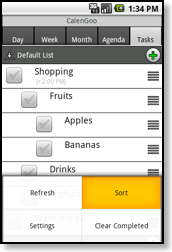
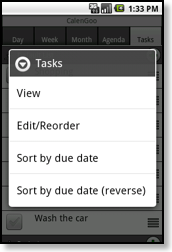
Tasks can only be reordered, indented or deleted when “Edit/Reorder” mode is selected. Phone numbers can only be called in “View” mode.
Deleting tasks
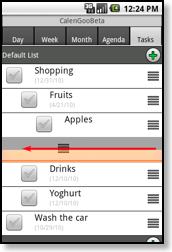
You can delete tasks either by pressing them longer and then releasing it. Then you will get a menu to delete it. Or you can move them with the handle on the right (the 3-lines-symbol) to the left out of the screen: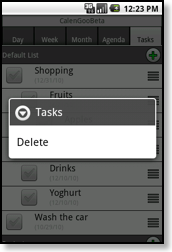
Clear completed tasks
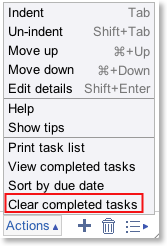
If you want to remove all completed tasks from the list, you can use the “Clear Completed” function: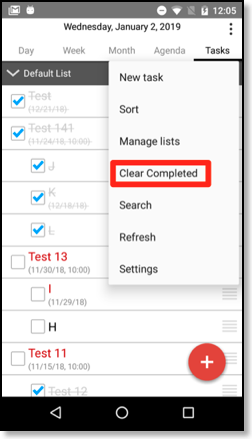
Previously Google Calendar had that function, too (see below). However since a few weeks now Google Calendar automatically runs "Clear completed" every time you mark a task as completed on http://calendar.google.com . That means that after you mark a task as completed in Google Calendar (i.e. on http://calendar.google.com) and sync CalenGoo afterward, all completed tasks will vanish from CalenGoo. You can fix that by turning "Settings > Display and Use > Maintenance > Load hidden (by "Clear completed") tasks" on. Afterward you have to change a task and sync to make CalenGoo download all tasks of that list again. Then the hidden/completed tasks should appear.
Add/reorder/remove task lists
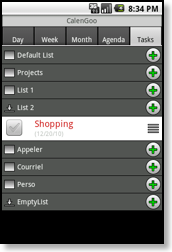
You can add new tasks list, delete existing tasks lists, rename task lists and reorder your task lists by choosing “Manage lists” from the menu of the tasks view: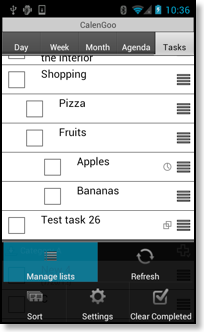
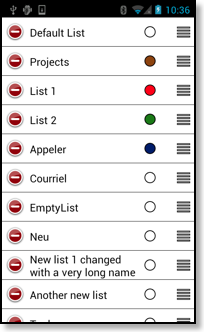
To add a new list tap the "Add new list..." entry at the end. To move a list use the handle on the right. And to delete a list just tap the "-" button to the left of the task list’s name.
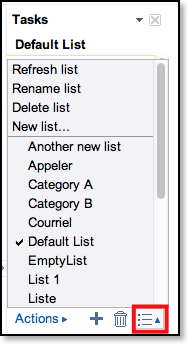
You can also assign different colors to your task lists by tapping the white circle. Please be aware that the Google Calendar/Google Tasks website can only display a single task list at a time whereas CalenGoo shows the tasks of all lists. To choose which task list should be displayed in Google Calendar/Google Tasks, you have to click the button in the lower right corner and then choose one of your lists:
Collapsing/Expanding lists
You can collapse and expand lists with the button at the left side of the list’s header: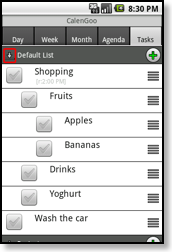
When a list is collapsed, only its header is displayed but not the tasks it contains. To expand the list and see the tasks, just tap the button again.
Reminders
You can also add reminders to your tasks. Just tap the “Add reminder...” button: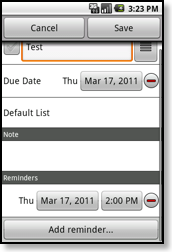
These reminders will trigger a notification in the status bar like the “popup” reminders for the events do.
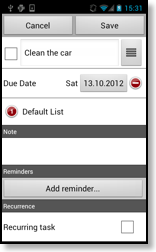
Recurring tasks
When you edit a task you can make it a recurring task. Just scroll down and check “Recurring task” and configure the recurrence rule. Whenever you complete this task afterward, it will automatically move the due date to the next date according to the recurrence rule and will be marked as uncompleted again.That means that when using recurring tasks, there is still only a single tasks but this task is moved forward, according to its recurrence rule, when you complete it. If you need a recurring task to be displayed on all future days in advance, you might want to use "Floating events" instead.
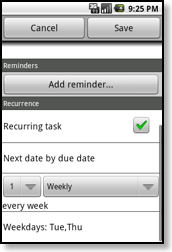
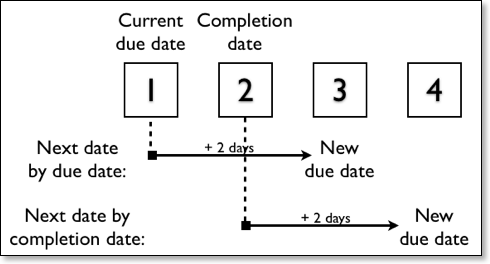
You can choose between two methods how to advance the due date when the task has been completed:
- Next date by due date: The next due date will be computed based on the previous due date. E.g. if you have a task that has to be completed every two days, but you complete it after three, the due date will still be the previous due date plus two days.
- Next date by completion date: The next due date will be computed based on the completion date, i.e. the date when you mark the task as completed. E.g. if you have a task that has to be completed every two days, but you complete it after three, the due date will be the completion date plus two days.
Priorities
You can assign priorities to your tasks (1-5) by tapping the empty circle in the edit view: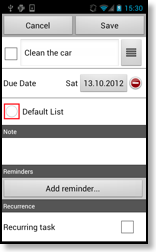
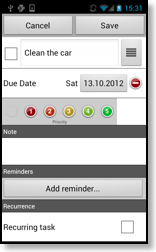
Priorities are displayed in the tasks view and the calendar views and can be used to sort the tasks.
Converting a task into an event
To convert a task into an event just open the task for editing and choose "Convert to event" from the menu or tap the third button in the toolbar: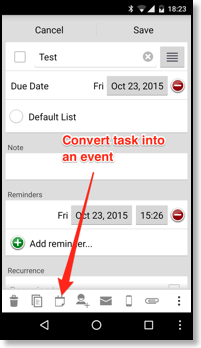
This will open the event edit screen and will fill it with the details of the task. When saving the event, the task is automatically deleted.
Syncing tasks with Outlook
Because Android does not have a way to exchange tasks between apps (there is only a central place for calendars and contacts), currently the only way to sync CalenGoo with Outlook is via Google Calendar. For this purpose you have to sync Outlook via GSyncIt with Google Calendar and add the same Google account in CalenGoo under "Settings > Tasks".Codes for reminders, recurring tasks and priorities
Because Google Tasks does not support reminders for tasks, recurring tasks and priorities, CalenGoo writes this information into the title and the notes field of the tasks. You can enter the codes yourself when entering tasks via the Google Calendar website. When entering tasks via CalenGoo, CalenGoo will do this automatically.E.g. to set a priority for a task, just write "[x] " in front of the title, where x is the priority number from 1-5. E.g. "[2] Test" would be a task with priority 2.
To set reminders for a task, just write [r:time] where time is the time for the reminder, e.g. "[r:11:00 AM]" for a reminder at 11am on the task’s due date or "[r:2/10/13 1:00 PM]" for a reminder at 1pm on February 10th 2013.
To set a recurrence rule just write [rr:rule] into the notes field. The rule depends on the type of recurrence:
- Daily: interval;D;next date mode e.g. "2;D;0" for every second day
- Weekly: interval;W;next date mode or interval;W;next date mode;weekdays e.g. "2;W;0" for "every second week" or "0;W;0;1010000" for "every Monday and Wednesday"
- Monthly: interval;M;next date mode;weekday mode e.g. "1;M;0;0" for every month
- Interval is e.g. "1" for "every" day/week/month, "2" for "every second" day/week/month and so on.
- Next date mode is 0 for "Next date by due date" and 1 for "Next date by completion date"
- Weekday is a string of 0 and 1 for the weekdays Monday to Sunday, e.g. "0100000" would be a Tuesday
- Weekday mode is "0" for e.g. "every 11th of the month" and 2 for e.g. "every second Monday"
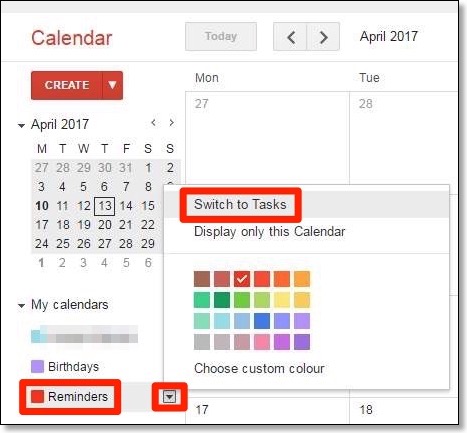
Using Google Tasks in Google Calendar (instead of Reminders)
Google Calendar now sometimes displays "Reminders" instead of "Tasks" in the "My calendars" list on the left side. If "Reminders" is there, you won’t see the tasks that you enter with CalenGoo. And you won’t see the "Reminders" that you enter in Google Calendar in CalenGoo. So to switch from "Reminders" to "Tasks" just click on the button to the right of "Reminders" and select "Switch to Tasks":