


Editing events
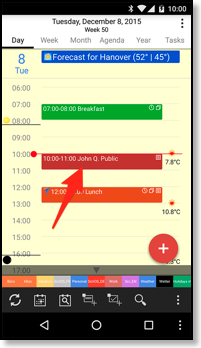
There are different ways to edit an event. E.g. in the day view you can double tap an event to edit it. In the week and month view you can tap&hold it for a second to get a drag&drop menu and in the agenda view you can simply tap it once. Then the event will be opened in detail view: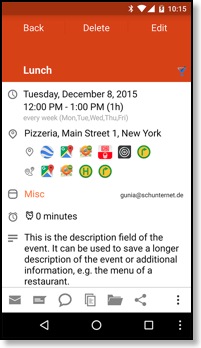
There you can tap the “Edit” button to edit the event. By tapping the location you can open the maps app (e.g. Google Maps) to display the location of the event.
To create a new event you can use the “New event” function in the menu or double tap a free space in the day view.
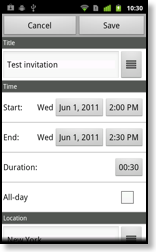
The edit view can be scrolled to edit the different fields:

You can specify a title, a start and end time, a location and a description for this event. Additionally you can add reminders and attendees. If you like you can create a recurring event by checking “Recurring events” (please see “Recurring events” for details). You can set Google’s privacy flag (see Google Help) and Google’s free/busy flag.
You also have to specify into which calendar an event should be saved. Just tap the calendar’s name in the “Calendar” section to choose another calendar. You can configure the default calendar for new events under “Settings”, “Display and Use”, “Edit view”, “Default Calendar”. If an event that you have created does not occur in Google Calendar, please ensure that you have chosen the correct calendar when creating the event.
Sending invitations to attendees
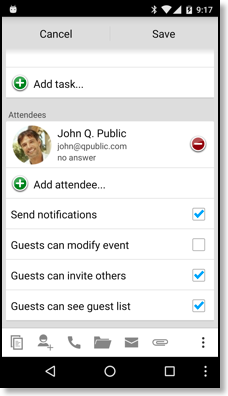
If you like you can invite persons to events. They will get an email by Google Calendar and if they use Google Calendar themselves, the event is automatically added to their calendar (if they didn’t disable it).By tapping the “Add attendee...” button you can add attendees to an event. Afterward you can specify if you would like to send an invitation email to them. To do this simply check “Send invitations”:
The invitation emails are sent by Google Calendar and contain links to accept/decline the event:
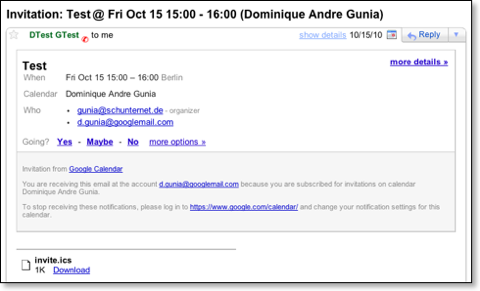
You can see the result, i.e. if someone accepted or declined your invitation in CalenGoo’s event detail view afterward.
If the recipient does not get the invitation email, there may be two reasons:
- The recipient’s spam filter has filtered this email, so please check the spam folder.
- The recipient has configured Google Calendar (intentionally or accidentally) so that he does not get invitation emails if other people invite him. So please ask the recipient to sign in to Google Calendar and click “Settings”, “Calendar settings”, “Calendars” (tab) and then click “Notifications” behind his first calendar’s name (the calendar where the invitation events are automatically added). In this screen:
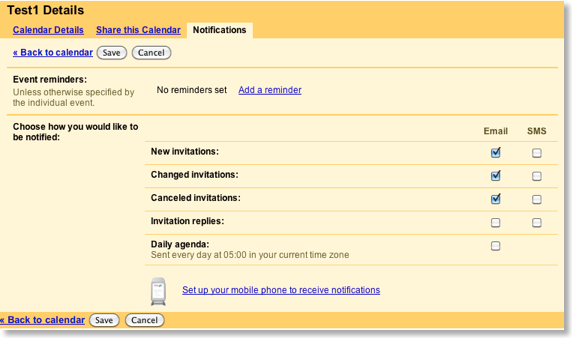
the recipient has to check “Email” in the rows “New invitations”, “Changed invitations” and “Canceled invitations” to get an email when he gets an invitation from someone else. This applys only to recipients that have a Google Calendar account. Others will automatically get invitation emails.
Responding to invitations
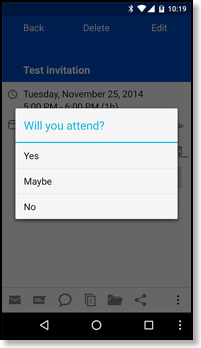
In CalenGoo’s detail view you can see all attendees and their status. If you are one of these attendees, just tap on the button to the right of your name and choose your answer: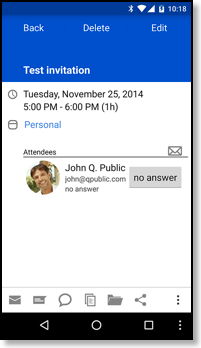
To make invitations automatically appear in your Google Calendar, please ensure that "Automatically add invitations to my calendar" is set to "Yes" in the Google Calendar settings:

Scheduling an appointment with a contact
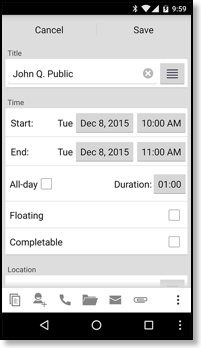
If you have an appointment with someone that is already in your phone’s contacts you can copy the contact’s data into a new event. This is different from adding attendees which was explained above. Adding attendees means to add their email addresses to the event in a way so that Google Calendar will send them invitations. Using this function here will just copy data from the contact into the event and link the event to this contact but it won’t send an invitation to that person.To schedule an appointment with a contact just create a new event (e.g. by double tapping a free space in the day view) and press the menu button of your phone. Choose “Insert contact data”:
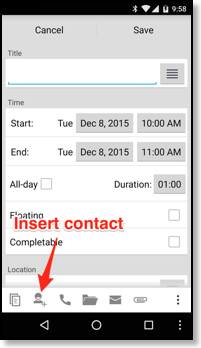
Now choose a contact from your phone’s contacts. If it has more than one address, you can choose which address should be used. Afterward the name of the selected contact is copied into the title field, the address into the location field and phone numbers and email addresses are copied into the description field of the event.
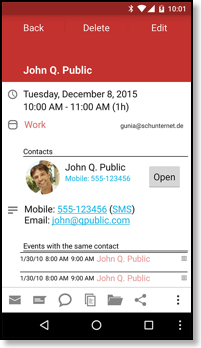
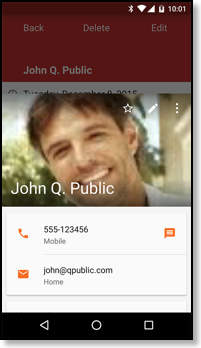
Later you can use the event’s detail view to open the address in Google Maps (tap the location row), call or text a phone number or tap the button with the name of the contact to open the phone’s view of this contact including all further details:
In the settings you can specify which parts of the contact should be copied into the event under “Settings”, “Display and Use”, “Edit view”:
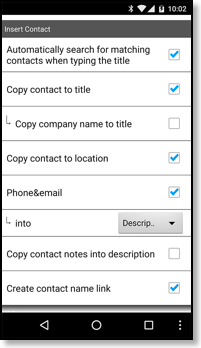
The option “Create contact name link” creates the “[Linked Name: Contact’s name]” text that is necessary to allow CalenGoo to open the contact when the event is displayed (otherwise it doesn’t know which contact to open).
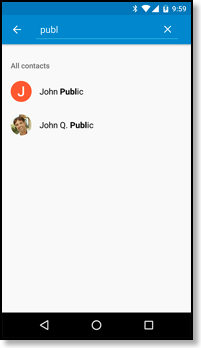
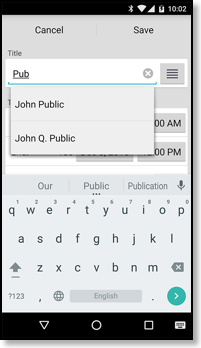
Another function to make choosing contacts simple is to turn “Settings”, “Display and Use”, “Edit view”, “Automatically search for matching contacts when typing the title” on (which is only available if "Edit title full-screen" is turned off). Then you can simply start typing the name of a contact in the title of an event and you will get a list of matching names:
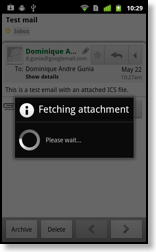
Importing ICS files from emails
If you get an email with an attached ICS file, you can tap “Preview” to open it with CalenGoo and create an event with the title, location, description and time specified in the ICS file: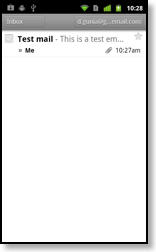

Subcategories
Please also see the subcategories of this topic:Recurring events
Copying events
Drag&Drop
Icons